Sprinkler or Alarm Credit: The Photo File an Underwriter Asked For
Commercial property underwriters require verified visual documentation to process eligible sprinkler and alarm system credit requests that can reduce annual premium costs by a meaningful margin for multi-unit, retail, or industrial sites. This standardized photo file eliminates common rejection triggers for credit applications, including missing timestamps, incomplete component documentation, and uncertified record submission. You can assemble this file using existing records from your property maintenance log and a 24-hour on-site capture window, no specialized equipment required. Margin Desk provides this guidance for educational purposes only; always confirm all submission requirements with your insurance underwriter or licensed broker before sending your application, as this page does not bind coverage or decide credit eligibility.
Printed photo log entry fields for sprinkler component condition documentation
Each entry in your printed photo log corresponds to one unique sprinkler system component, with no batch entries allowed for multiple parts. Required fields for every line item include the full date of image capture, the unique component ID matching your most recent fire marshal inspection report, a 1-2 sentence specific condition note, and the printed name and signature of the person who captured the image. You will need one log entry per control valve, pressure gauge, backflow preventer, and individual sprinkler head for all areas of the property listed on your insurance policy. Fill out all log entries in blue or black permanent ink, with no pencil or whiteout permitted; cross out any errors with a single straight line and initial next to the correction to maintain a clear audit trail. Illustrative example: A log entry for a 3rd floor rear storage closet sprinkler head would list the component ID as SH-3-17, the condition note as “no corrosion, unobstructed, no physical damage, last serviced 04/2023”, and the signature of the property maintenance lead who captured the photo. Do not use vague condition notes like “good” or “working” as these will trigger a request for more specific information from the underwriter.
Time-stamped image capture requirements for active alarm control panel validation
All images of your alarm control panel must have a visible, embedded timestamp in the lower right corner of the frame, not just stored in the image file metadata, as underwriters require explicit proof of capture date and time. You will need three separate images of the panel, all captured within a 10-minute window to confirm consistent active status. First, capture a full shot of the panel with the access door open, showing the illuminated active power light, battery backup status indicator, and no active fault codes displayed on the main screen. Second, capture a close-up shot of the zone list displayed on the panel, showing all perimeter and interior alarm zones are enabled and no zones are bypassed. Third, capture a close-up of the official monitoring company sticker affixed to the panel door, showing the active account number, property address, and 24/7 dispatch phone number. Illustrative example: If you capture the full panel shot at 1:12 PM, the zone list close-up at 1:14 PM, and the monitoring sticker at 1:16 PM, the sequence meets the 10-minute window requirement. If your camera does not have a built-in visible timestamp feature, place a printed daily calendar and a digital clock displaying the current date and time in the lower left corner of each frame to meet the validation rule. Do not submit screen captures of your alarm system’s mobile app for validation, as underwriters require physical on-site proof that the system is installed and active at the property address listed on your policy.
Hard copy attachment placement for fire sprinkler head location mapping sheets
Fire sprinkler head location mapping sheets must be placed immediately after the printed photo log, before any individual photo prints of sprinkler components, to allow the underwriter to cross-reference component locations with log entries quickly. Each mapping sheet must include a scaled floor-by-floor diagram of your property, with every sprinkler head and system component marked with the same unique ID used in your photo log and fire inspection report. Attach a signed copy of your last formal fire sprinkler inspection report from a state-licensed technician directly behind the mapping sheets, so the underwriter can cross-reference service dates and component status with the condition notes in your log. If your property has multiple buildings included in the same policy, create separate mapping sheets for each building, labeled clearly with the building address or identifier, and group all sprinkler photos for a single building immediately after its corresponding mapping sheet. Do not mix photos from different buildings in the same section of the file, as this will create unnecessary work for the underwriter and increase the risk of incomplete review. Any annotations on the mapping sheets, such as notes about a component that was replaced in the last 90 days, must be initialed by both the property manager and the technician who performed the work to be considered valid.
Labeled thumbnail sheet sorting guidelines for perimeter alarm sensor coverage photos
Perimeter alarm sensor photos are submitted as 8.5×11 inch thumbnail sheets, with 9 thumbnail images per page, each labeled with the corresponding zone number and sensor ID that matches your alarm control panel zone list. Sort the thumbnail sheets in the order outlined in the safeguard photo-file checklist below to align with standard underwriter review workflows:
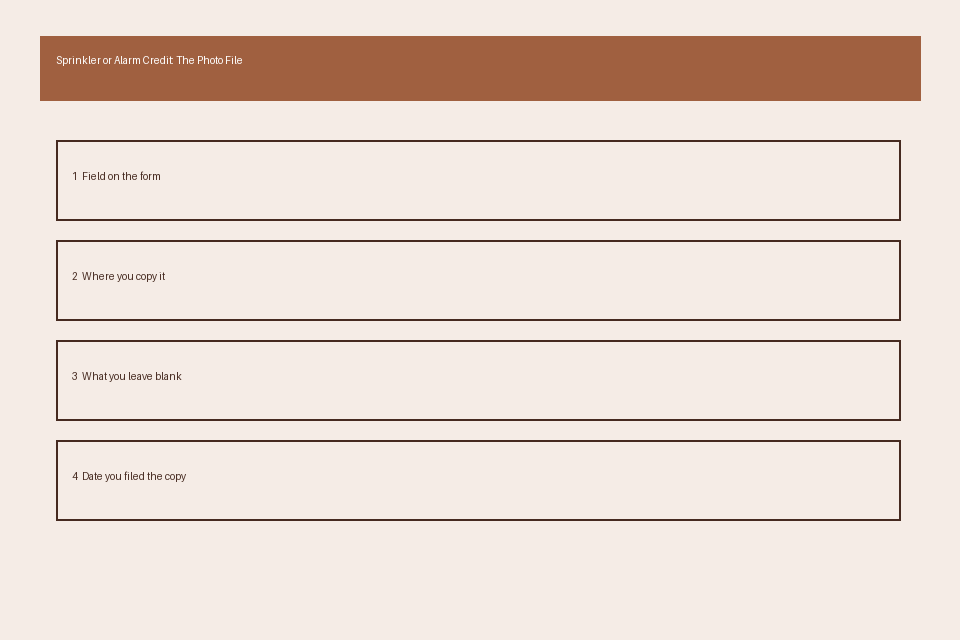
| Checklist Item | Required Number of Thumbnails | Placement Order | Acceptance Criteria |
|---|---|---|---|
| Ground floor door contact sensors | 1 per sensor | 1 | Clear view of sensor alignment, no visible damage, frame includes matching zone number sticker affixed to the door frame |
| Ground floor window contact sensors | 1 per sensor | 2 | Unobstructed view of sensor mounting, no peeling adhesive, no cracked or broken casing, no blockages from window treatments |
| Upper floor perimeter motion sensors | 1 per sensor | 3 | Shot includes full field of view coverage area, no blockages from furniture, stored inventory, or construction materials |
| Exterior gate and parking lot sensors | 1 per sensor | 4 | Clear view of sensor mounting height, no overgrown vegetation blocking line of sight, visible weatherproof casing in good condition |
| Interior panic button and smoke alarm integration sensors | 1 per sensor | 5 | Close-up of active status light, visible serial number matching your official alarm service report, no visible tampering |
Each thumbnail sheet must be labeled with the full property address and date of capture in the top right corner, and each individual thumbnail should have a 1-line handwritten label below it with the sensor ID and zone name, so the underwriter does not have to cross-reference manually across multiple documents. Blurry or poorly lit thumbnails will result in a request for re-submission, so use natural daylight where possible or a high-lumen flashlight to illuminate dark corners during capture. If you have more than 36 perimeter sensors, you will need additional thumbnail sheets, sorted in the same order outlined in the checklist, and labeled sequentially in the top right corner (e.g., Page 1 of 4, Page 2 of 4) so the underwriter can confirm no pages are missing. You do not need to include full-size prints of the perimeter sensor photos unless specifically requested by the underwriter, as the labeled thumbnails are sufficient for initial credit review.
Signed certification note inclusion rules for all submitted sprinkler and alarm visual records
The signed certification note must be the last page of your photo file, placed after all thumbnail sheets and supporting inspection reports, to formalize the accuracy of all submitted records. Required elements for the certification note include the full property address matching your insurance policy, the date range of all photo captures, a clear statement that all images accurately represent the current working condition of the sprinkler and alarm systems as of the capture date, the printed name, official title, wet signature, and direct contact phone number of the person submitting the file. If you are a property manager submitting on behalf of the property owner, you must also include a line confirming you have written authorization to submit the documentation and apply for the premium credit on the owner’s behalf. Illustrative example: A valid certification line would read “I certify that all photos included in this file were captured between 10/12/2024 and 10/13/2024 and accurately reflect the working condition of the 123 Main St retail property sprinkler and alarm systems at the time of capture.” For electronic submissions, confirm the acceptable digital signature format with your underwriter before sending, as some providers only accept verified digital signatures from authorized signatory portals. If your systems were installed or serviced in the last 6 months, you may include a signed statement from your licensed service technician on their company letterhead immediately before the certification note as supplementary validation, though this is not required for all applications. Always make a full, identical copy of the entire signed file for your own property maintenance records before submission, so you can reference it quickly if the underwriter has follow-up questions.
Print out the safeguard photo-file checklist today and schedule a 2-hour on-site capture window for the next clear business day to avoid delays in your credit application processing.